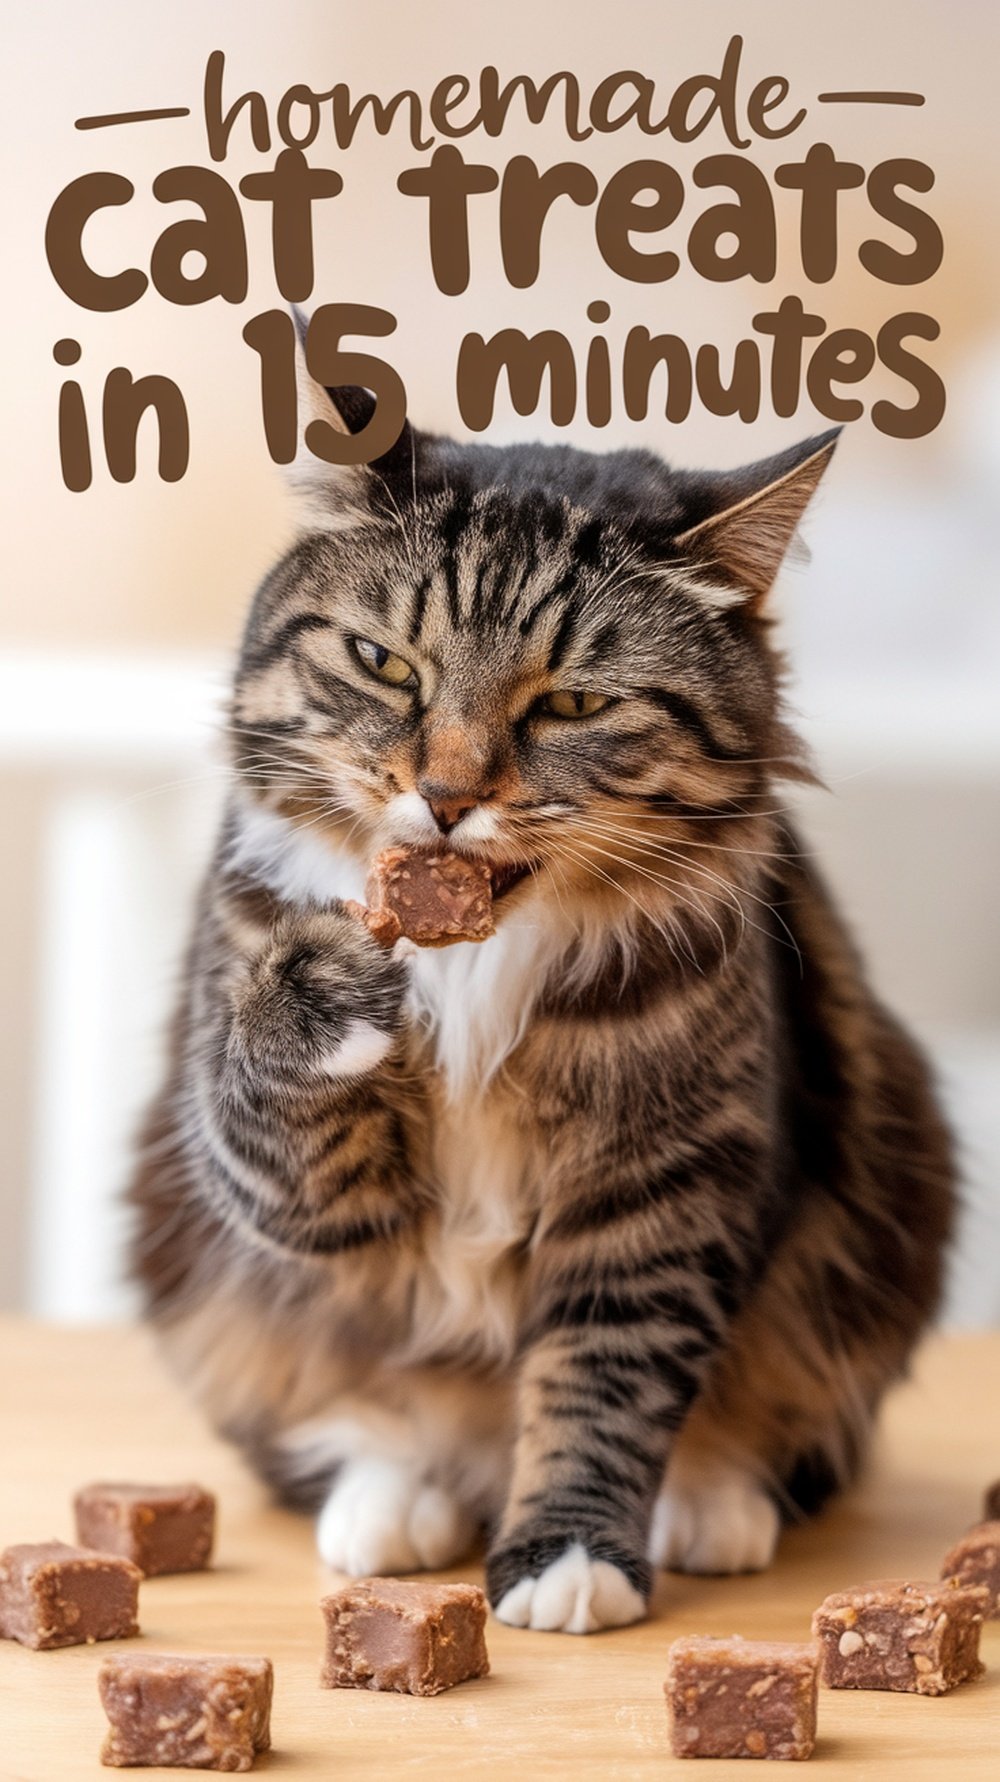
🐾 Homemade 15-Minute Cat Treats Recipe
These easy-to-make treats are packed with nutrients and free from artificial preservatives, making them a healthier alternative to store-bought cat treats. They’re crunchy on the outside, soft on the inside, and irresistible to cats!
🛒 Ingredients & Their Benefits
Each ingredient in this recipe is chosen for nutritional value and safety.
1. ½ Cup Canned Tuna or Salmon (Drained) 🐟
-
Why it’s great:
-
A rich source of protein, essential for muscle development.
-
High in omega-3 fatty acids, promoting healthy skin and a shiny coat.
-
Supports brain function and heart health.
-
-
Alternatives:
-
Use cooked chicken if your cat doesn’t like fish.
-
Choose a low-sodium, water-packed variety to avoid excessive salt.
-
2. ½ Cup Whole Wheat Flour or Oat Flour 🌾
-
Why it’s great:
-
Provides fiber for digestive health.
-
Acts as a binding agent to hold the treats together.
-
-
Alternatives:
-
Use oat flour or coconut flour for grain-sensitive cats.
-
Avoid regular white flour, as it has low nutritional value for cats.
-
3. 1 Egg 🥚
-
Why it’s great:
-
Contains high-quality protein for muscle maintenance.
-
Rich in vitamin B12 and riboflavin, which support metabolism.
-
Acts as a natural binder to keep the treats from crumbling.
-
4. 1 Tablespoon Dried Catnip (Optional) 🌿
-
Why it’s great:
-
Can make the treats more appealing and enticing for picky eaters.
-
Has mild calming effects, reducing stress and anxiety in some cats.
-
-
Alternative:
-
If your cat doesn’t react to catnip, you can skip this ingredient.
-
5. 1 Tablespoon Water or Low-Sodium Chicken Broth 💧
-
Why it’s great:
-
Adds moisture to prevent the treats from being too dry.
-
Helps maintain hydration, especially for cats who don’t drink enough water.
-
-
Alternative:
-
Use unsalted bone broth for an extra flavor boost.
-
🛠️ Equipment Needed
Having the right tools makes the process easier and quicker!
✔ Mixing bowl – To combine all ingredients.
✔ Fork or spoon – For mashing and mixing.✔ Baking sheet lined with parchment paper – To prevent sticking.
✔ Oven (or air fryer) – For baking the treats.✔ Small cookie cutter (optional) – To make cute shapes.
👩🍳 Step-by-Step Instructions
Step 1: Preheat the Oven & Prepare the Baking Sheet
-
Preheat your oven to 350°F (175°C).
-
Line a baking sheet with parchment paper to prevent sticking and make cleanup easier.
-
If using an air fryer, set it to 325°F (163°C) instead.
Step 2: Mix the Ingredients
-
In a large mixing bowl, add the canned tuna or salmon.
-
Use a fork to mash it into small, fine pieces for a smoother texture.
-
Add the flour, egg, catnip (if using), and water or broth.
-
Stir until all the ingredients are fully combined into a dough-like consistency.
-
If the dough is too sticky, add a little more flour; if it’s too dry, add a bit more water or broth.
Step 3: Shape the Treats
-
Take small portions of dough and roll them into pea-sized balls.
-
If you prefer crunchier treats, flatten them slightly with your fingers or a spoon.
-
You can also roll out the dough on a floured surface and use mini cookie cutters to make fun shapes like fish, hearts, or stars.
Step 4: Bake the Treats
-
Place the shaped treats evenly spaced on the baking sheet.
-
Bake for 10-12 minutes until they turn a light golden brown.
-
For softer treats, bake for 8 minutes instead.
-
If using an air fryer, check after 7-9 minutes, as cooking times may vary.
Step 5: Cool & Serve
-
Let the treats cool completely before serving to your cat.
-
Cooling allows the treats to harden slightly, making them more enjoyable to crunch.
-
Store the leftovers properly to maintain freshness.
🍽️ Serving Size & Frequency
Cats love treats, but moderation is key!
-
Offer 1-2 treats per day as a snack or reward.
-
Treats should make up no more than 10% of your cat’s daily diet.
-
Always provide fresh water alongside treats.
⏳ Storage & Shelf Life
Proper storage ensures freshness and prevents spoilage.
✔ Refrigerator: Store in an airtight container for up to 1 week.
✔ Freezer: Freeze for up to 3 months. Thaw before serving.✔ Room Temperature: Not recommended for longer than 2-3 days, as homemade treats lack preservatives.
Tip: If treats become too hard after refrigeration, microwave for 5 seconds before serving.
🎯 Health Benefits of Homemade Cat Treats
Homemade treats are a healthier alternative to store-bought treats, which often contain artificial preservatives, fillers, and additives.
✅ Better Nutrition
-
High-quality proteins support muscle growth and maintenance.
-
Essential fatty acids promote shiny fur and healthy skin.
✅ No Harmful Additives
-
Free from artificial flavors, preservatives, and colors.
-
No excessive salt or sugar, which can lead to health problems.
✅ Easier Digestion
-
Homemade treats are gentler on the stomach, reducing the risk of food allergies.
-
Customizable for cats with grain sensitivities.
🐱 Final Thoughts
In just 15 minutes, you can create nutritious, delicious, and safe homemade treats that your cat will love! These easy-to-make treats provide health benefits while also serving as a great bonding experience between you and your pet.