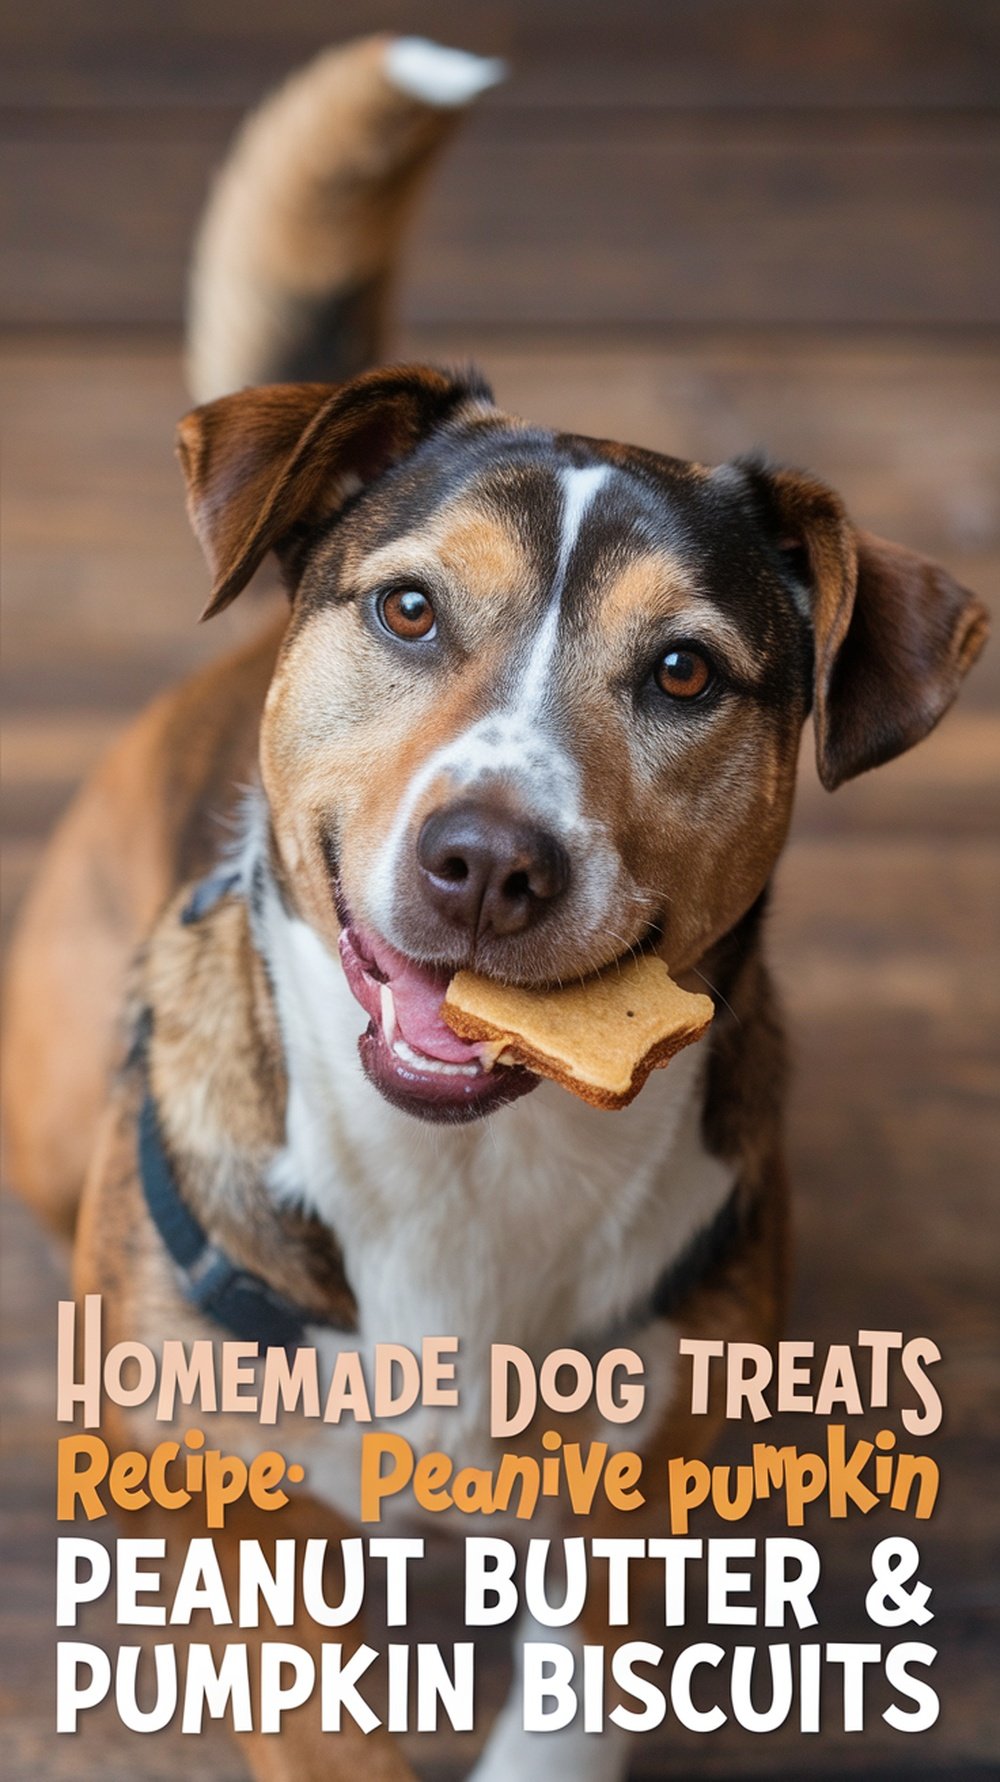
Homemade Dog Treats Recipe: Peanut Butter & Pumpkin Biscuits
Creating homemade dog treats is a fun and creative way to make sure your dog enjoys delicious snacks without any artificial additives or preservatives. By using natural ingredients, you know exactly what your pet is consuming, which is especially important if your dog has food sensitivities or allergies. Below, we’ll guide you through a simple recipe for Peanut Butter & Pumpkin Biscuits, a treat that most dogs will love due to its tasty and healthy ingredients.
Ingredients
1. Canned Pumpkin Puree (1 cup)
Pumpkin is not only delicious but incredibly nutritious for dogs. It is high in fiber, which can help with digestive issues like diarrhea or constipation, which is why it’s a staple in many commercial and homemade dog foods. In addition to its fiber content, pumpkin is rich in antioxidants, vitamins A, C, and E, which can help support your dog’s immune system, vision, and skin health. It’s important to use plain canned pumpkin puree and not the spiced variety used for pies, as spices and added sugars can be harmful to dogs.
2. Peanut Butter (1/2 cup)
Peanut butter is a favorite treat for many dogs, thanks to its rich, nutty flavor. It’s also packed with healthy fats and proteins, both of which provide energy for your dog. Peanut butter also contains essential vitamins like vitamin E, niacin, and healthy fats, which help maintain a shiny coat and support overall health. Make sure to choose peanut butter that’s free from xylitol, an artificial sweetener toxic to dogs. Always read the label to ensure there are no added sugars, salt, or unhealthy oils. If you want to avoid any unnecessary additives, opt for natural peanut butter.
3. Whole Wheat Flour (2 1/2 cups)
Whole wheat flour is a great source of fiber, helping to keep your dog’s digestive system regular and healthy. It also contains B vitamins and minerals like zinc and magnesium. Whole wheat flour is often preferred for dog treats, as it provides a more robust nutritional profile compared to refined white flour. However, if your dog has a wheat allergy or sensitivity, you can substitute this with oat flour or rice flour. Oat flour is a fantastic gluten-free option and is generally easier on dogs with sensitive stomachs.
4. Rolled Oats (1/4 cup)
Oats are rich in fiber and can help support healthy digestion in dogs. They also have a mild, nutty flavor that adds texture to your treats. While rolled oats are optional, they can be a beneficial addition to the dough, as they will help create a more textured biscuit that dogs love to chew. If you want to make the treat extra fibrous and hearty, add the rolled oats. They are especially beneficial for older dogs with digestive issues.
5. Water (1/4 cup)
Water is essential to make the dough come together. If your dough feels too dry while mixing, you can slowly add more water a tablespoon at a time. It’s important that your dough is not too wet but still pliable enough to roll out easily. If you want to make your treats extra special, you can substitute the water with broth (chicken or beef) to add more flavor.
6. Large Egg (1)
The egg in this recipe acts as a binding agent that holds the dough together, making it easier to roll and shape. Eggs are an excellent source of protein, essential amino acids, and vitamins, which help maintain healthy muscles, skin, and coat. The egg also adds moisture to the dough and helps the treats retain a pleasant, firm texture after baking.
7. Honey (1 tablespoon, optional)
Honey is a natural sweetener that is safe for dogs in moderation. It contains antioxidants, vitamins, and minerals that can promote a healthy immune system. It also has anti-inflammatory properties and can help soothe your dog’s throat if they have any mild irritation. While honey adds a hint of sweetness, it’s completely optional in this recipe. If your dog is on a sugar-restricted diet or you prefer to keep treats unsweetened, feel free to leave this ingredient out.
Instructions
1. Preheat the Oven:
Start by preheating your oven to 350°F (175°C). This ensures that your treats bake evenly and thoroughly. You also want to prepare your baking sheet by lining it with parchment paper or using a silicone mat. This prevents the treats from sticking and makes cleanup easier once you’re done.
2. Mix the Wet Ingredients:
In a large mixing bowl, start by adding the canned pumpkin puree, peanut butter, egg, and honey (if using). Use a wooden spoon or spatula to thoroughly mix these ingredients together until they form a smooth and creamy mixture. The consistency should resemble a thick batter. This step is crucial because these wet ingredients provide the base of the dough.
3. Add the Dry Ingredients:
Next, gradually add the whole wheat flour and rolled oats to the wet mixture. Stir continuously to combine, ensuring all the flour is incorporated. The dough will start to thicken at this point. If it’s too dry or crumbly, add a tablespoon of water at a time until it forms a dough that holds together well. You may need to use your hands to finish mixing, as the dough can get stiff.
4. Knead the Dough:
Once your dough has come together, turn it out onto a lightly floured surface. Knead the dough for about 1-2 minutes to smooth out any lumps. Be sure to flour your hands if the dough feels sticky. Kneading is important because it helps the dough firm up, making it easier to roll out and cut into shapes.
5. Roll Out the Dough:
Using a rolling pin, roll the dough to about 1/4-inch thickness. If you don’t have a rolling pin, you can also use a clean bottle. The dough should be thick enough to hold its shape when cut but not too thick that it takes forever to bake. Once rolled out, use a cookie cutter to cut the dough into fun shapes like bones, hearts, or circles. You can also use a knife to cut the dough into simple squares if you prefer.
6. Bake the Treats:
Place the cut-out treats onto your prepared baking sheet, leaving a little space between each one. Bake the treats in the preheated oven for about 20-25 minutes or until they are golden brown around the edges. You’ll know they’re done when they feel firm to the touch. The baking time may vary depending on the thickness of your treats, so keep an eye on them towards the end of the baking time.
7. Cool and Serve:
Once the treats are baked, remove them from the oven and allow them to cool on a wire rack. They will continue to harden as they cool, so don’t worry if they seem soft when you first take them out of the oven. Once completely cooled, your treats are ready to serve!
Health Information
Peanut Butter
-
Nutritional Benefits: Peanut butter is a fantastic source of protein, which helps build muscle and maintain energy levels. It’s also rich in healthy fats that support your dog’s skin, coat, and overall well-being.
-
Considerations: Always choose peanut butter without xylitol, as even small amounts can cause serious health issues for dogs. Check the ingredients label to make sure the peanut butter is plain and doesn’t contain any artificial sweeteners, preservatives, or excess salt.
Pumpkin
-
Nutritional Benefits: Pumpkin is packed with fiber, which helps regulate digestion. It’s also loaded with vitamins A, C, and E, all of which support a healthy immune system, vision, and skin. Additionally, the high fiber content can help alleviate mild constipation or diarrhea in dogs.
-
Considerations: Only use pure pumpkin puree (not pie filling), as pie filling often contains spices and sugar that are not safe for dogs.
Whole Wheat Flour
-
Nutritional Benefits: Whole wheat flour is a good source of fiber and B-vitamins, which contribute to a healthy metabolism and skin. It also provides minerals like magnesium and iron, which are important for overall health.
-
Considerations: If your dog has a wheat or gluten sensitivity, you can substitute the flour with oat flour or rice flour, which are gentler on sensitive stomachs.
Honey
-
Nutritional Benefits: Honey is packed with antioxidants, which can help fight inflammation and support overall health. It also provides natural sugars that give your dog a quick energy boost.
-
Considerations: While honey is safe for dogs in moderation, it’s important to use it sparingly. Too much sugar, even from natural sources, can lead to weight gain and other health problems.
Serving Size & Storage
Serving Size:
-
Small Dogs: For small breeds (under 10 lbs), give 1 treat per day.
-
Medium Dogs: For medium-sized dogs (10-40 lbs), give 2-3 treats per day.
-
Large Dogs: For larger dogs (over 40 lbs), give 3-4 treats per day.
Remember that these are just guidelines. If your dog is on a special diet or has dietary restrictions, consult with your vet to adjust the serving size accordingly.
Storage:
Once your treats have cooled completely, store them in an airtight container at room temperature. They will last for about 2 weeks. If you want them to last longer, freeze them! Simply place the treats in a freezer-safe bag or container, and they will stay fresh for up to 3 months. When you’re ready to give your dog a treat, just thaw one out or serve it straight from the freezer for a cool, refreshing snack.
Conclusion
Making homemade dog treats is a wonderful way to show your dog how much you care. With this recipe, you know exactly what’s going into their snacks, and you can be sure they’re getting a healthy, nutritious option. These peanut butter and pumpkin treats are not only tasty but also support your dog’s digestive health, energy levels, and overall well-being.
Have fun baking, and enjoy watching your dog enjoy the delicious treats you’ve made with love!
