
How to Successfully Breed Feeder Crickets: A Detailed Guide to Starting a Profitable Business
Breeding feeder crickets can be a highly rewarding venture, whether you want to use the crickets for pet care, sell them to pet stores, or make it into a profitable business. Crickets are a staple food source for many reptiles, amphibians, birds, and even fish. They are easy to breed, require relatively low maintenance, and can be grown in a controlled environment. This guide will cover everything you need to know about successfully breeding feeder crickets, as well as turning your hobby into a profitable business.
Materials Needed for Breeding Feeder Crickets
Before you start breeding crickets, you will need some essential materials to create an optimal environment for them. Here’s a detailed list:
-
Cricket Housing (Enclosure):
-
Breeding Containers: A suitable container for breeding crickets is a must. A large plastic storage bin (with a lid), glass aquarium, or specialized cricket cage will work. The size depends on how many crickets you intend to breed. For a starter colony, a 20-gallon aquarium or a 30-50-liter plastic container should suffice. For larger operations, you will need multiple containers.
-
Ventilation: Ensure your container has sufficient ventilation, such as holes drilled in the lid or sides, or you can use a mesh screen. Good airflow is necessary to prevent mold and to regulate humidity.
-
-
Substrate:
-
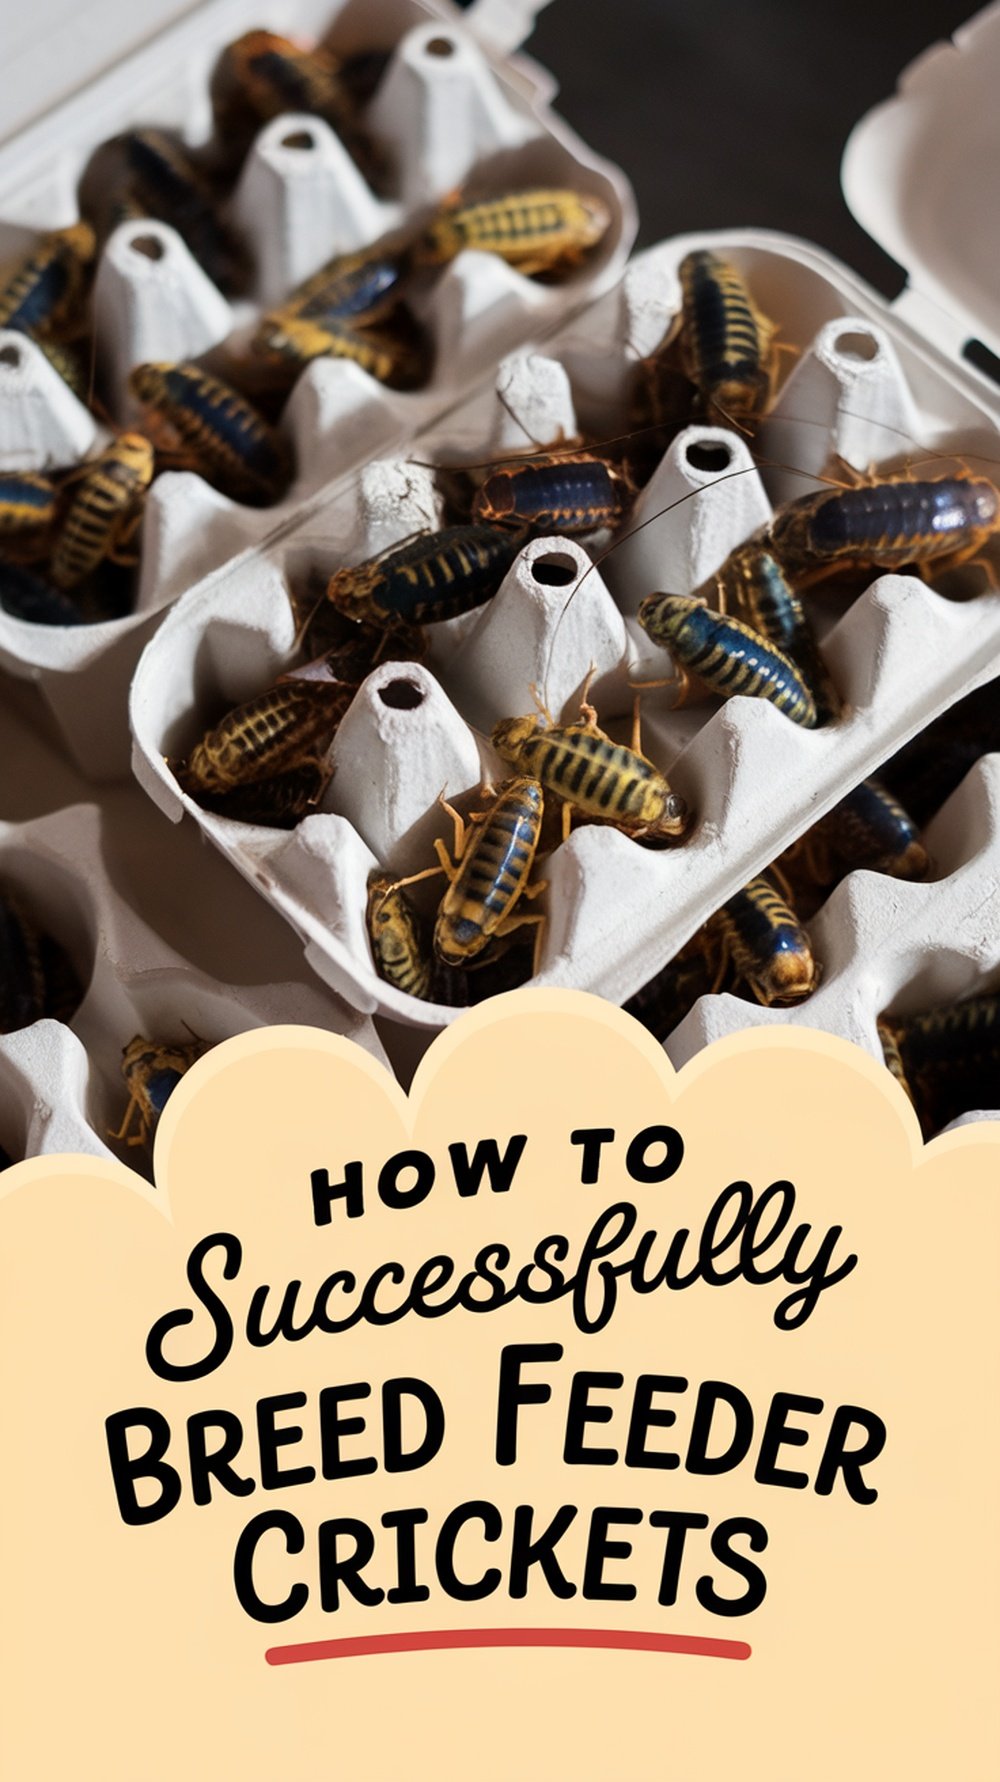
Egg Cartons: Egg cartons are great for crickets to climb, hide, and lay eggs. They also help maintain humidity and prevent overcrowding. You can place them vertically or horizontally in the enclosure.
-
Shredded Paper or Bedding: Shredded paper or cardboard can also be used as bedding to provide a place for crickets to burrow and hide. It should be non-toxic, clean, and absorbent.
-
Moisture-Laden Soil/Sand: For egg-laying, crickets need a moist area where they can lay their eggs. You can use a shallow container filled with damp sand, vermiculite, or potting soil.
-
-
Crickets (Starter Colony):
-
Healthy Starter Colony: To start breeding, you’ll need a small colony of crickets, typically about 50-100. These crickets should consist of both males and females. You can order them online or from a pet store.
-
Species Choice: The most common species used for breeding feeder crickets is Acheta domesticus (the house cricket). They are hardy, prolific breeders and thrive in various environments.
-
-
Food and Water:
-
Food: Crickets are omnivores, and their diet should consist of a mix of dry food and fresh produce. You can feed them:
-
Commercial cricket food (available online or at pet stores)
-
Dog food (unsweetened, non-flavored)
-
Fresh fruits and vegetables (apple slices, carrots, leafy greens, etc.)
-
-
Water: Crickets require water, but they can drown if the water source is too deep. Use a cricket waterer, which is a sponge or cotton ball soaked with water, or a shallow dish with water crystals or gel to provide hydration without the risk of drowning.
-
-
Temperature and Humidity Control:
-
Heat Source: Crickets prefer warmer temperatures to breed successfully. The ideal temperature range is between 75-90°F (24-32°C). Use a heat pad or heat lamp to maintain the temperature inside the breeding container.
-
Humidity: Crickets require moderate humidity, around 50-60%. Too much moisture can lead to mold, while low humidity can prevent successful egg hatching. A hygrometer can help you monitor humidity levels, and you can increase humidity by lightly misting the enclosure or using a humidity tray.
-
-
Egg-Laying Area:
-
Egg-Laying Tray: Female crickets will need a separate area for laying eggs. You can provide a shallow tray with damp sand or vermiculite. This will allow them to deposit their eggs. After the crickets lay eggs, remove the tray to prevent adult crickets from eating the eggs or to reduce the risk of mold.
-
Step-by-Step Process for Breeding Feeder Crickets
Step 1: Set Up the Cricket Enclosure
-
Select a large, well-ventilated container for your cricket breeding operation. Make sure it is large enough to accommodate your cricket colony comfortably, providing space for them to move around.
-
Line the bottom of the container with egg cartons, shredded paper, or cardboard to provide hiding spaces for the crickets. This also creates vertical surfaces for crickets to climb on.
-
Ensure the lid or top is secure, preventing crickets from escaping while allowing air circulation.
Step 2: Create the Right Environment
-
Temperature Control: Maintain a temperature between 75-90°F (24-32°C). You can use a heat pad placed under the container or a heat lamp above it. Ensure the temperature is consistent.
-
Humidity: Crickets thrive in environments with 50-60% humidity. You can use a hygrometer to monitor this. Lightly mist the substrate with water or place a humidity tray inside the container to maintain adequate moisture levels.
Step 3: Introduce the Crickets for Breeding
-
Add your starter colony of crickets (50-100) to the enclosure, including both males and females. The ideal ratio is around 1 male for every 4-5 females.
-
Males will chirp to attract females, and once mating occurs, the female will deposit her eggs into the moist substrate or egg-laying tray. The eggs will incubate for about 1-2 weeks before hatching.
Step 4: Provide Proper Nutrition
-
Feed your crickets a balanced diet that includes both dry food (like dog food) and fresh food (such as fruits, vegetables, and grains). Ensure they have access to fresh water at all times, using a water sponge or shallow dish to prevent drowning.
Step 5: Maintain the Egg-Laying Area
-
After the female crickets lay their eggs (usually 1-2 weeks post-mating), remove the egg-laying tray to prevent adult crickets from eating the eggs. If left undisturbed, the eggs will hatch within 7-10 days.
-
Once hatched, return the egg tray to the container to allow the baby crickets (nymphs) to grow and develop.
Step 6: Harvest and Manage the Nymphs
-
As the nymphs mature, ensure that they are separated by age. You can place the newly hatched nymphs in a separate container to give them space to grow. They will need more space as they grow into adults.
-
Keep the environment clean by removing dead crickets and food scraps regularly.
Tips for Successful Cricket Breeding
-
Regularly Clean the Enclosure: Crickets can produce a lot of waste, so it’s important to clean the enclosure regularly. Remove dead crickets, uneaten food, and waste to prevent mold and bacteria growth.
-
Maintain Proper Temperature and Humidity: Consistent temperature and humidity levels are key to ensuring your crickets breed successfully. If the temperature drops below 75°F (24°C), they may stop breeding. Conversely, too much heat can cause stress and death.
-
Provide Hiding Spaces: Crickets are shy creatures and need hiding spots. Egg cartons, cardboard, and shredded paper provide ideal shelter for the crickets, helping to reduce stress and increase breeding efficiency.
-
Monitor for Disease: Keep an eye out for any signs of illness in your colony, such as lethargic crickets, unusual behavior, or visible mold. If you notice any sick crickets, isolate them to prevent spreading disease.
-
Separate by Size: Crickets grow quickly, and larger crickets may start eating smaller ones. Consider separating them by size to avoid predation and ensure healthy growth.
Frequently Asked Questions (FAQs)
Q: How long does it take for crickets to breed and produce offspring?
-
A: Crickets typically start breeding within 2-3 weeks after being introduced into the breeding environment. The female lays eggs after mating, and those eggs will hatch in about 7-10 days. Nymphs will mature in 6-8 weeks, depending on the environment.
Q: What should I do if I see mold in the cricket enclosure?
-
A: Mold can be harmful to crickets. Immediately remove any affected areas, replace the substrate if necessary, and adjust your humidity levels to prevent mold from growing. Ensure proper airflow and avoid over-watering the enclosure.
Q: How can I handle the odor of crickets?
-
A: Crickets can produce a strong odor, especially in larger colonies. To mitigate this, ensure regular cleaning, maintain optimal humidity levels, and use ventilation systems to allow fresh air to circulate. You may also use odor-reducing products or activated charcoal in the breeding area.
Q: Can I breed different species of crickets together?
-
A: It is generally best to breed the same species together to ensure healthy offspring. Mixing species may lead to aggressive behavior and unhealthy offspring.
Turning Cricket Breeding into a Profitable Business
-
Start Small and Scale Up: Begin with a small colony of crickets and gradually scale up your breeding operation as you gain experience. Keep track of your costs and profits to understand the economics of your business.
-
Market Your Crickets: Reach out to pet stores, reptile owners, and aquarium shops. Consider creating an online presence through social media or a website to market your crickets to a wider audience.
-
Pricing: Research the going rates for feeder crickets in your local area. Consider offering discounts for bulk orders or regular customers to build a loyal customer base.
-
Offer a Variety of Sizes: Depending on your customers’ needs, you can offer different sizes of crickets (from small nymphs to large adults). This will increase your customer base and allow for more flexibility in your sales.
-
Shipping and Distribution: If you plan to sell online, invest in proper shipping supplies to send live crickets safely. Ensure that crickets are packed securely with adequate ventilation and moisture to survive the shipping process.
-
Additional Revenue Streams: Consider offering related products, such as cricket food, habitat supplies, or breeding kits. You can also create educational content or workshops for people interested in starting their own cricket breeding operation.
-
Expand to Other Feeder Insects: Once you’ve mastered breeding crickets, you can consider diversifying your business by breeding other feeder insects like mealworms, dubia roaches, or black soldier fly larvae, which are also in demand for pet care.
Conclusion
Successfully breeding feeder crickets is a relatively easy and rewarding process, but it requires dedication and attention to detail. Whether you’re interested in breeding crickets for personal use, as a hobby, or as a full-fledged business, following the right steps, keeping a clean and controlled environment, and understanding your market are key to success. With the proper care and attention, you can turn cricket breeding into a profitable venture and cater to a growing demand in the pet care and aquarium industries.